



7 Common Mistakes When Renovating an Old Stone Farmhouse
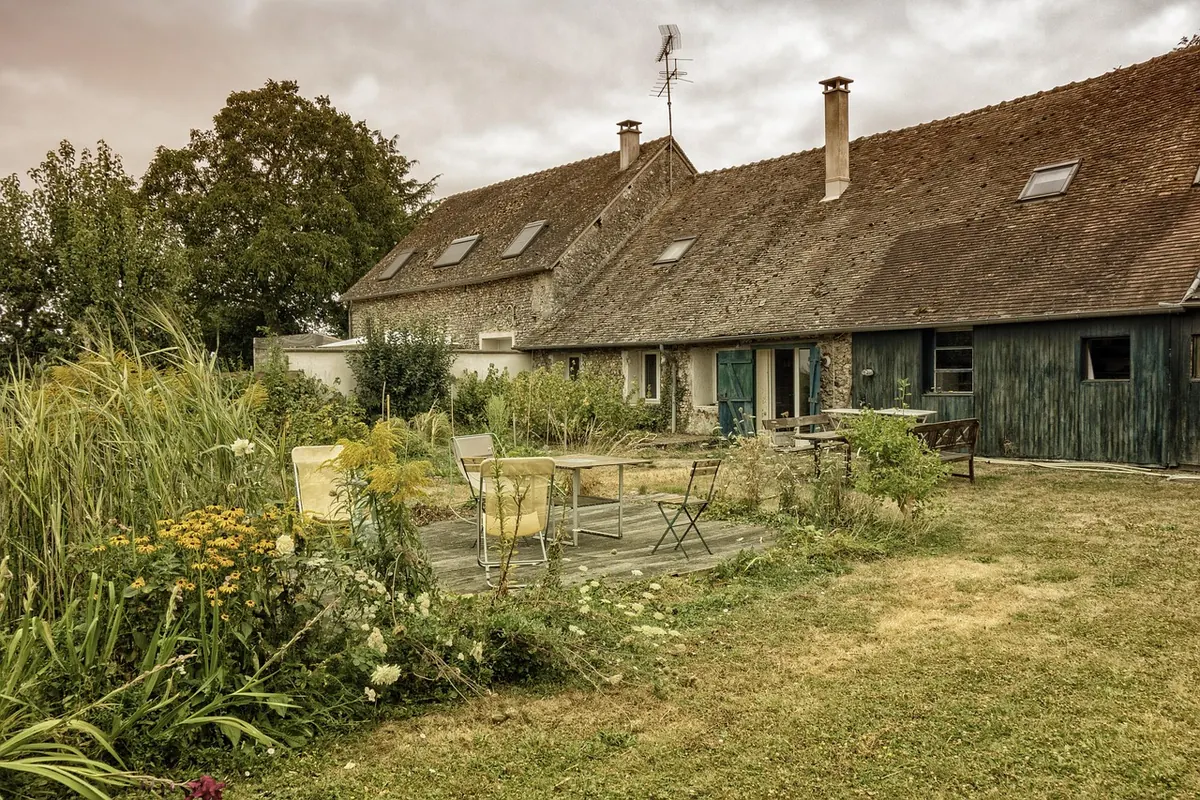
An old stone farmhouse is not a blank canvas. It has opinions, habits and a long memory of weather. The people who come out of a renovation happy are rarely the ones with the biggest budget; they are the ones who understood, early on, how the building works. The people who struggle usually make the same handful of mistakes, and most of them happen before anyone picks up a chisel. Here are the seven we see most often, and what to do instead.
1. Falling for the place before commissioning a proper survey
A farmhouse in evening light, with a fig tree against the wall and swallows overhead, can talk almost anyone out of their common sense. Then the first winter arrives and the north wall turns out to be a sponge.
A mortgage valuation is not a survey. What you want is a structural engineer or surveyor who has actually worked on historic stone buildings, ideally someone local who knows the soil, the prevailing wind and the way farmhouses in that valley were usually built. Ask them to look hard at the roof structure, the wall heads, the tie stones, the lintels, the floor joists, and how the ground sits around the building.
Treat the report as a negotiating document, not a verdict. It tells you what the first three years will cost you in effort, and sometimes it tells you to walk away. Both are useful.
2. Treating damp as one problem — then sealing the walls while fixing it
Damp is not a diagnosis. It is a symptom with several possible causes: a leaking gutter, a cracked render, ground outside sitting higher than the internal floor, a failed drain, condensation from a new bathroom, or genuine rising moisture in a wall with no damp course.
The expensive mistake is to reach for cement render, gypsum plaster, plastic paint and a chemical injection before anyone has found out which of those is happening. Old stone walls were built to hold and release moisture. Coat them in something waterproof and the moisture simply moves inward, taking the plaster with it, or sits in the stone and freezes.
- Keep it breathable: lime mortars, lime plasters, clay or lime paints, and stone left exposed where it was meant to be.
- Fix the water source first: gutters, downpipes, drains, ground levels, roof flashings.
- Ventilate deliberately: extractor fans in kitchens and bathrooms, trickle vents or the original openings kept working, and furniture pulled slightly off cold external walls.
- Be patient: a wall that has been wet for decades takes months, not weeks, to settle after the cause is removed.
3. Assuming permissions are a formality
Rural buildings attract rules. Listed status, conservation areas, landscape restrictions, agricultural ties, and the difference between repairing and altering are all things that can stop a project mid-wall. What counts as permitted work varies enormously between regions and even between neighbouring municipalities, so nobody's cousin's experience two valleys over is a reliable guide.
Talk to the local planning office and, where relevant, the heritage authority before you commit to a design. In Italy a local geometra or architect who works with historic rural buildings every week will save you far more than their fee in avoided reversals. Get decisions in writing where you can, and keep a simple file of drawings, photographs and correspondence. If you are buying abroad, take proper local legal advice on what you are actually allowed to do with the property — before signing, not after.
4. Stripping out the character you paid for
It happens quietly. The old chestnut beams are "a bit rustic", so they go. The worn stone thresholds are trip hazards, so they are replaced with uniform tiles. The wonky shutters are swapped for neat new ones in a colour from a magazine. Three years later the house is comfortable and has nothing left to say.
Before anything is removed, walk the building with a camera and photograph every original detail: ironwork, hinges, door handles, tiles, roof timbers, stone sinks, bread ovens, carved lintels. Number and store what comes out. Much of it can be repaired by a joiner or a blacksmith for less than the cost of a convincing replacement, and salvaged materials of the right age rarely match.
Be equally careful with cleaning. Aggressive sandblasting can open the surface of soft stone and leave it shedding grit for years. Gentle methods, patience and a small test patch on a hidden corner are always the better start.
5. Leaving the roof, gutters and ground levels until later
Water is patient, and it wins. Almost every interior problem in an old farmhouse can be traced back to something above or below: a slipped tile, a gutter that discharges against the wall, a downpipe that empties into the ground rather than a drain, or soil and paving built up over the years until the outside ground is above the inside floor.
Deal with all of it before you buy a single kitchen cabinet. Clear and repair the gutters, check the fall of the roof, rod the drains, and look at where rainwater actually goes in a heavy storm — then stand outside and watch it. If external ground levels are high, lower them, or cut a drainage channel and fill it with gravel so the wall can dry outward. It is unglamorous work that quietly protects everything you do afterwards.
6. Getting the order of the work wrong
Renovations go wrong when finishes are installed before the building is ready for them. New floors laid over unknown pipes, a beautiful bathroom fitted to walls that still need to be opened, a kitchen delivered while the roof is off. The sequence is not complicated, but it has to be respected.
- Survey, then permissions, then a realistic budget with a contingency you genuinely leave alone.
- Roof, rainwater goods, drainage and ground levels.
- Structural repairs: walls, floors, timbers, lintels.
- Services first fix — electrics, plumbing, heating — with routes agreed and photographed before anything is covered.
- Insulation, then lime plaster or render, then time to dry.
- Second fix, kitchens and bathrooms, then floors and decoration.
- External works, planting and the long, slow settling in.
Lime needs time. Timber needs to move. Rushing those stages is how cracks appear in work that looked perfect in September.
7. Designing for a different house
The most common design mistake is trying to turn a thick-walled, small-windowed farmhouse into a glassy modern villa. Knocking through every ground-floor wall removes the cross-walls that hold the building together and leaves a long, dark corridor of a room. Oversized glazing on a south wall turns the kitchen into a greenhouse in July and a heat sink in January.
Old farmhouses were designed with remarkable intelligence: thick walls that buffer temperature, small openings that keep the summer sun out, rooms that close down in winter and open up in spring. Work with that logic. If you need more light and space, a modest, well-insulated extension to the side usually costs less and damages less than gutting the original. Put bathrooms where they can be drained and vented sensibly, and keep the kitchen near the old hearth or the door you actually use.
A sensible order for the first month
Before any work begins, do four things: commission an independent survey from someone who knows old stone; find out exactly what you are allowed to change; photograph and record every original detail in the building; and spend one full day watching how water moves through the site in the rain. Then write a phased plan, with the boring water-related work at the top.
Restoring a farmhouse well is slower than most people expect and more satisfying than most people imagine. Get these seven things right and the house stops fighting you — and starts doing what it has always done, which is sheltering people properly.
Photo: barskefranck / Pixabay